Kvaser's CanKing - Free Bus Monitor Software
Full Transcript
Welcome to the Kvaser CanKing Guide. Here we will explain how to use the tools available in our CanKing software. Above you can see there are several buttons available to quickly jump between the different sections of this video. If you are looking for a specific guide such as how to send a message using CanKing, simply click the button above to be taken directly to that section.
When you begin CanKing, you will be greeted by this dialog. Here you can create a new project or open an existing project. For this demonstration we will be creating a new project. Select Template and press OK.
Select CAN Kingdom (2 channels). Press OK and several new windows will appear. Let’s take a brief look at what each of these windows do.
First we have the main window. This window acts as the main hub of your project offering a variety of utilities. Here you can create a new project, open an existing project, save the current project, Place CAN devices on the Bus (START), or take them off (STOP).
Finally there is the Output window and the Formatter window. The Output window will display all messages according to the Format and Filters assigned in the Formatter window
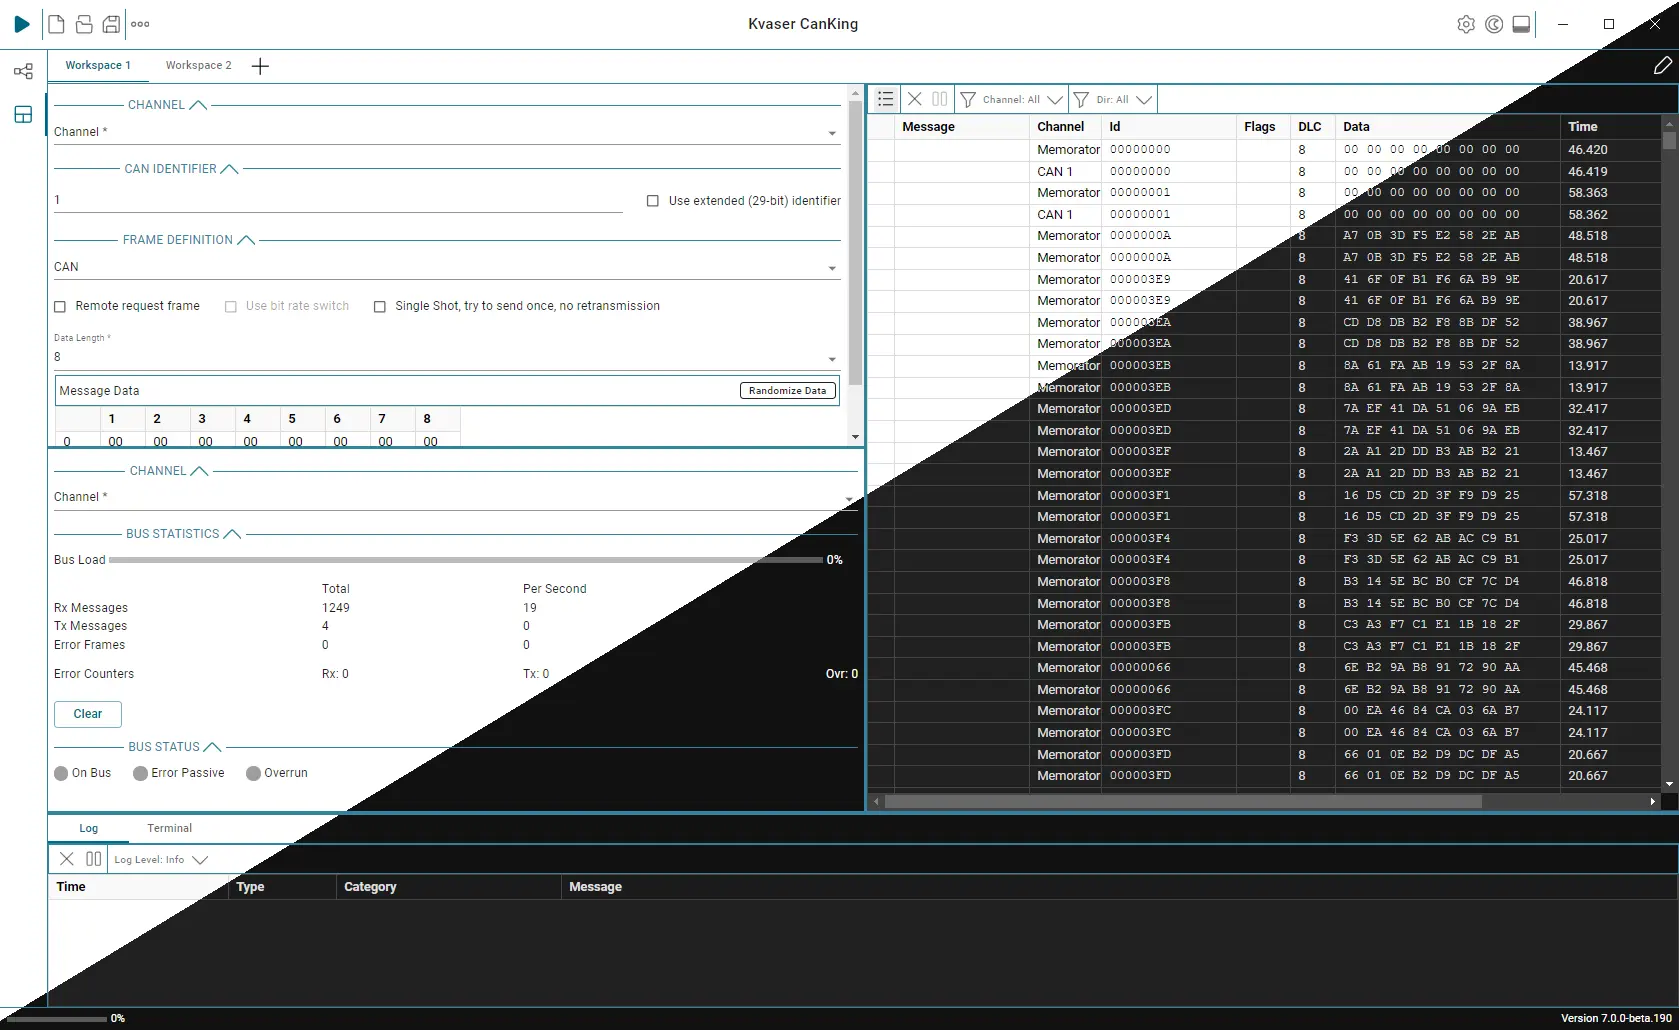
Now let’s send a message. To send a single message, click messages on the main window, select universal, and then select universal again on the next drop menu. This will open a new window called the CAN Message window. This window can be used to send specific CAN frames across the bus which will then display in the Output window. You can also send an extended id by adding x at the end of the message, a remote frame by adding rx at the end, or in hex by adding a $ or 0x at the beginning of the message.
There is also a Traffic Generator for loading the bus. Go to messages on the main window, select Universal and then select Traffic Generator. This will open the CAN Bus Loader where you can select from a variety of options for setting the duration and rate at which you would like to send messages. There is also an option under the options tab to allow the start run button on the main window to also start the Bus Loader.
Now that we know how to send messages across the bus, let’s look at how to format these messages in the Output Window using the Formatter. The formatter window is comprised of two parts. The available formatter list, and the active formatter list. The available formatter list is all of the formatters and filters that can be added to the active formatter list. The Active formatter box shows which formatters are active and the order in which they will act. Whether the output is displayed in decimal or hexadecimal can also be changed here by selecting the format and pressing Options.
The top box can also be used to apply filters to the formatter. As filters are added to the formatter’s active box, they will stack in order of addition. Before running, it is important to ensure that the filters are above the selected formatter as the formatter window will always run the active selections from top to bottom in sequential order.
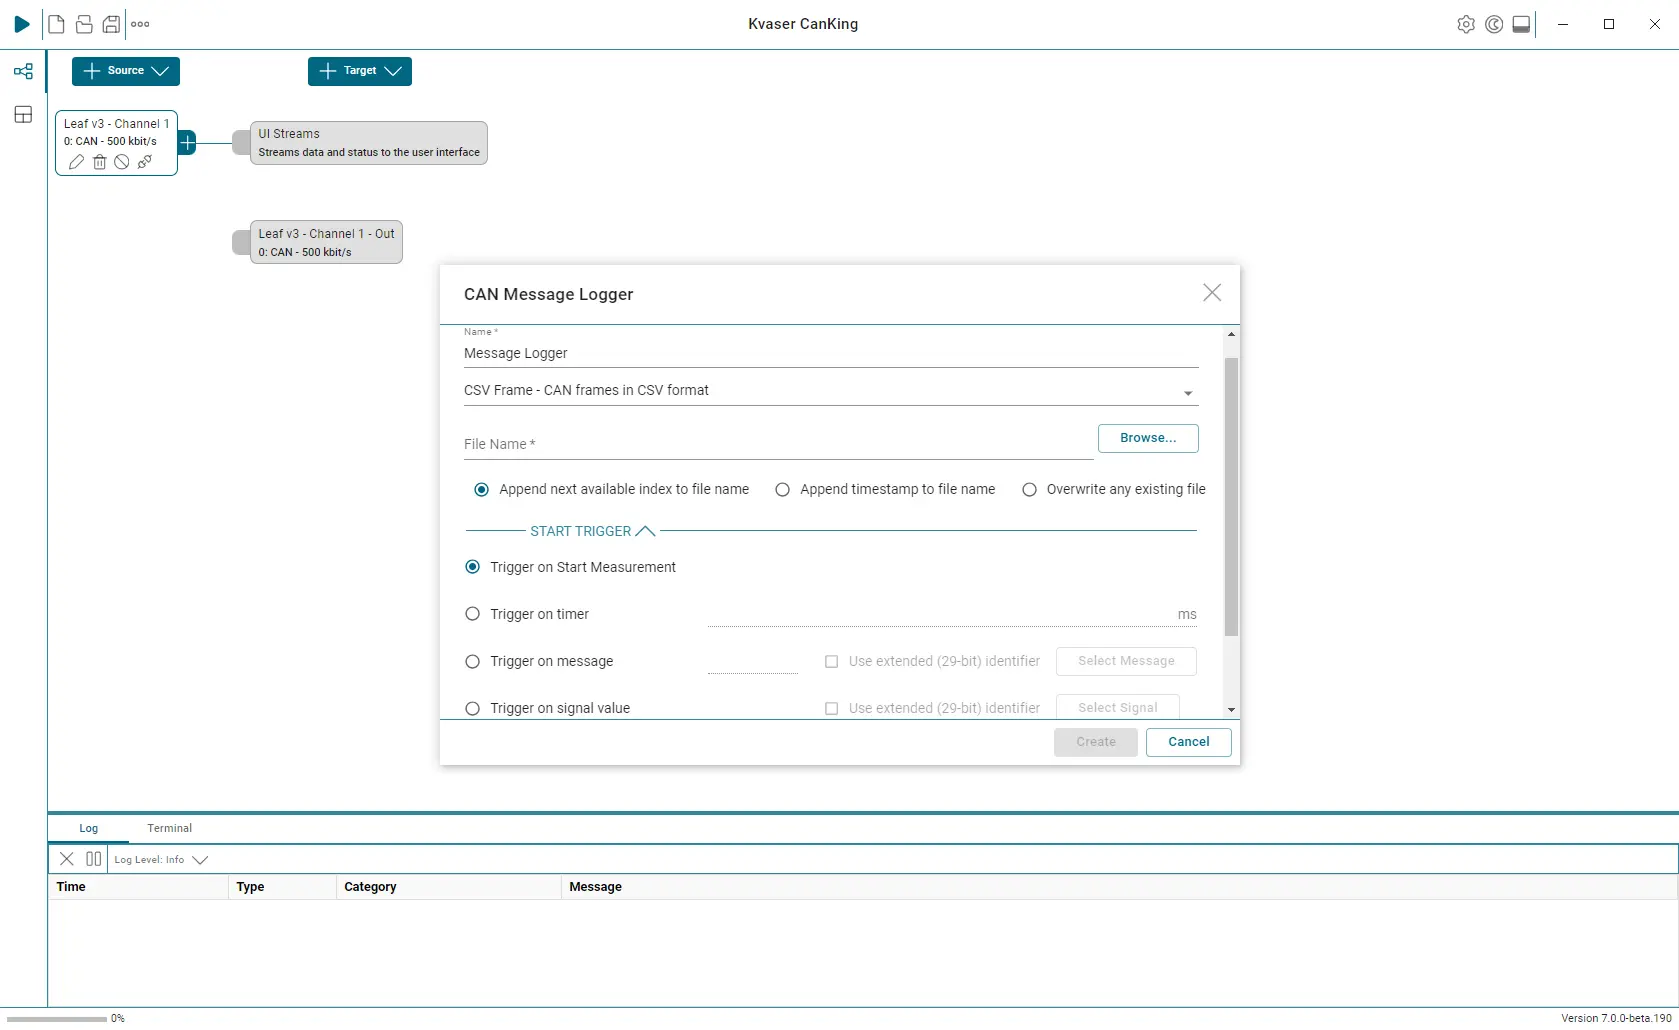
Now that we have established how to format and filter messages, let’s cover how to log messages. In order to log messages we will need to select a different template. For this demonstration select Log To File (2 channels). This template includes a new window called the Log To Text File window. Simply press start and a prompt will appear asking for a file name. Once a file name has been entered, press save to begin logging to an ASCI file. Alternatively, if you right click on the Output window you can copy the current messages to the clipboard.
The History list is a unique function that allows CanKing to send a specific series of CAN frames as a group. Go to the view drop menu on the Main Window and select History list. Here you will see all of the messages that have been transmitted on the bus by CanKing. From here these messages can be saved as a group, a previously saved group could be loaded for use again, or the group of messages can be sent all at once. There is even an option to send only certain messages from the group. Whether you press Send All or Send Selected, a menu will pop up asking if you would like to send the series of messages a single time or if you would like to send them cyclically with a specified interval.
It is also possible to create your own unique formatter as a .dll file by using the example formatter in the CanKing directory under Samples labeled formatter_dll.
Additional guidance for CanKing can be found in the built in help section. Click Help on the main window, then click Contents for a searchable guide of many of CanKing’s various tools and functions.
CanKing for Windows is a CAN bus monitor and general-purpose diagnostic tool. It is especially suited for interactive development work. CAN messages can be easily sent and the corresponding impact on the target module observed.
CanKing Feature List
- Send & Receive CAN and Extended CAN messages
- Supports CAN FD, both ISO and non-ISO
- Log to File (Up to 4 Channels)
- Filter Messages
- Generate Error Frames
- Timed Transmission
- History Transmit List
- Traffic Generator
- Virtual CAN Channels
- Choose your own Bus Parameters
- CANkingdom Message Formatters
- Supports Custom Formatters
- J1939 Identifier Formatter
System Requirements
- Operating System: Windows
- Driver: Kvaser’s CANlib 3.9 driver or better (available here)
FAQ
Does CanKing support CAN FD?
Yes, CanKing supports both ISO and non-ISO versions of CAN FD.
How much does the CanKing Bus Analyser cost?
CanKing is a free resource available for download at any time.
Which Kvaser interfaces does CanKing work with?
CanKing works with all of Kvaser’s CAN interfaces. This would exclude the Leaf Professional LIN and Linx j1587.
How do I know this bus analyser will work with my CANbus?
CanKing will work with any ISO 11898-1 compliant CANbus. You can configure settings to match your CANbus’ specific bitrate inside of CanKing.
How can I send a specific set of messages?
You can use the “History List” tool to send a specific sequence of messages onto the CANbus. For more information on the “History List” tool, please watch our CanKing video at the top of the page.
RECOMMENDED RESOURCE: WHITE PAPER
CAN Signal Analysis with Spreadsheets and Kvaser’s CanKing
In this paper Bryan Hennessy presents a method to capture and analyze a CAN signal, buried within a CAN frame, using Microsoft Excel, Notepad, and Kvaser’s free CanKing software.
Download PDF